I had a really chilled break recently, visiting some very old friends in Grafton. During that time, two special little people became interested in my most recent monster of a servetka project and wanted to cross stitch with me. So I taught them how to cross stitch just the way my Baba taught me. The day after arriving home, I was sent a photo of a bookmark completed. It was so lovely to teach these two sweet enthusiasts and I’ve been inspired by them to post on how to cross stitch.
These posts on learning to cross stitch are dedicated to Georgia and Nick.
A lesson in red and gold.
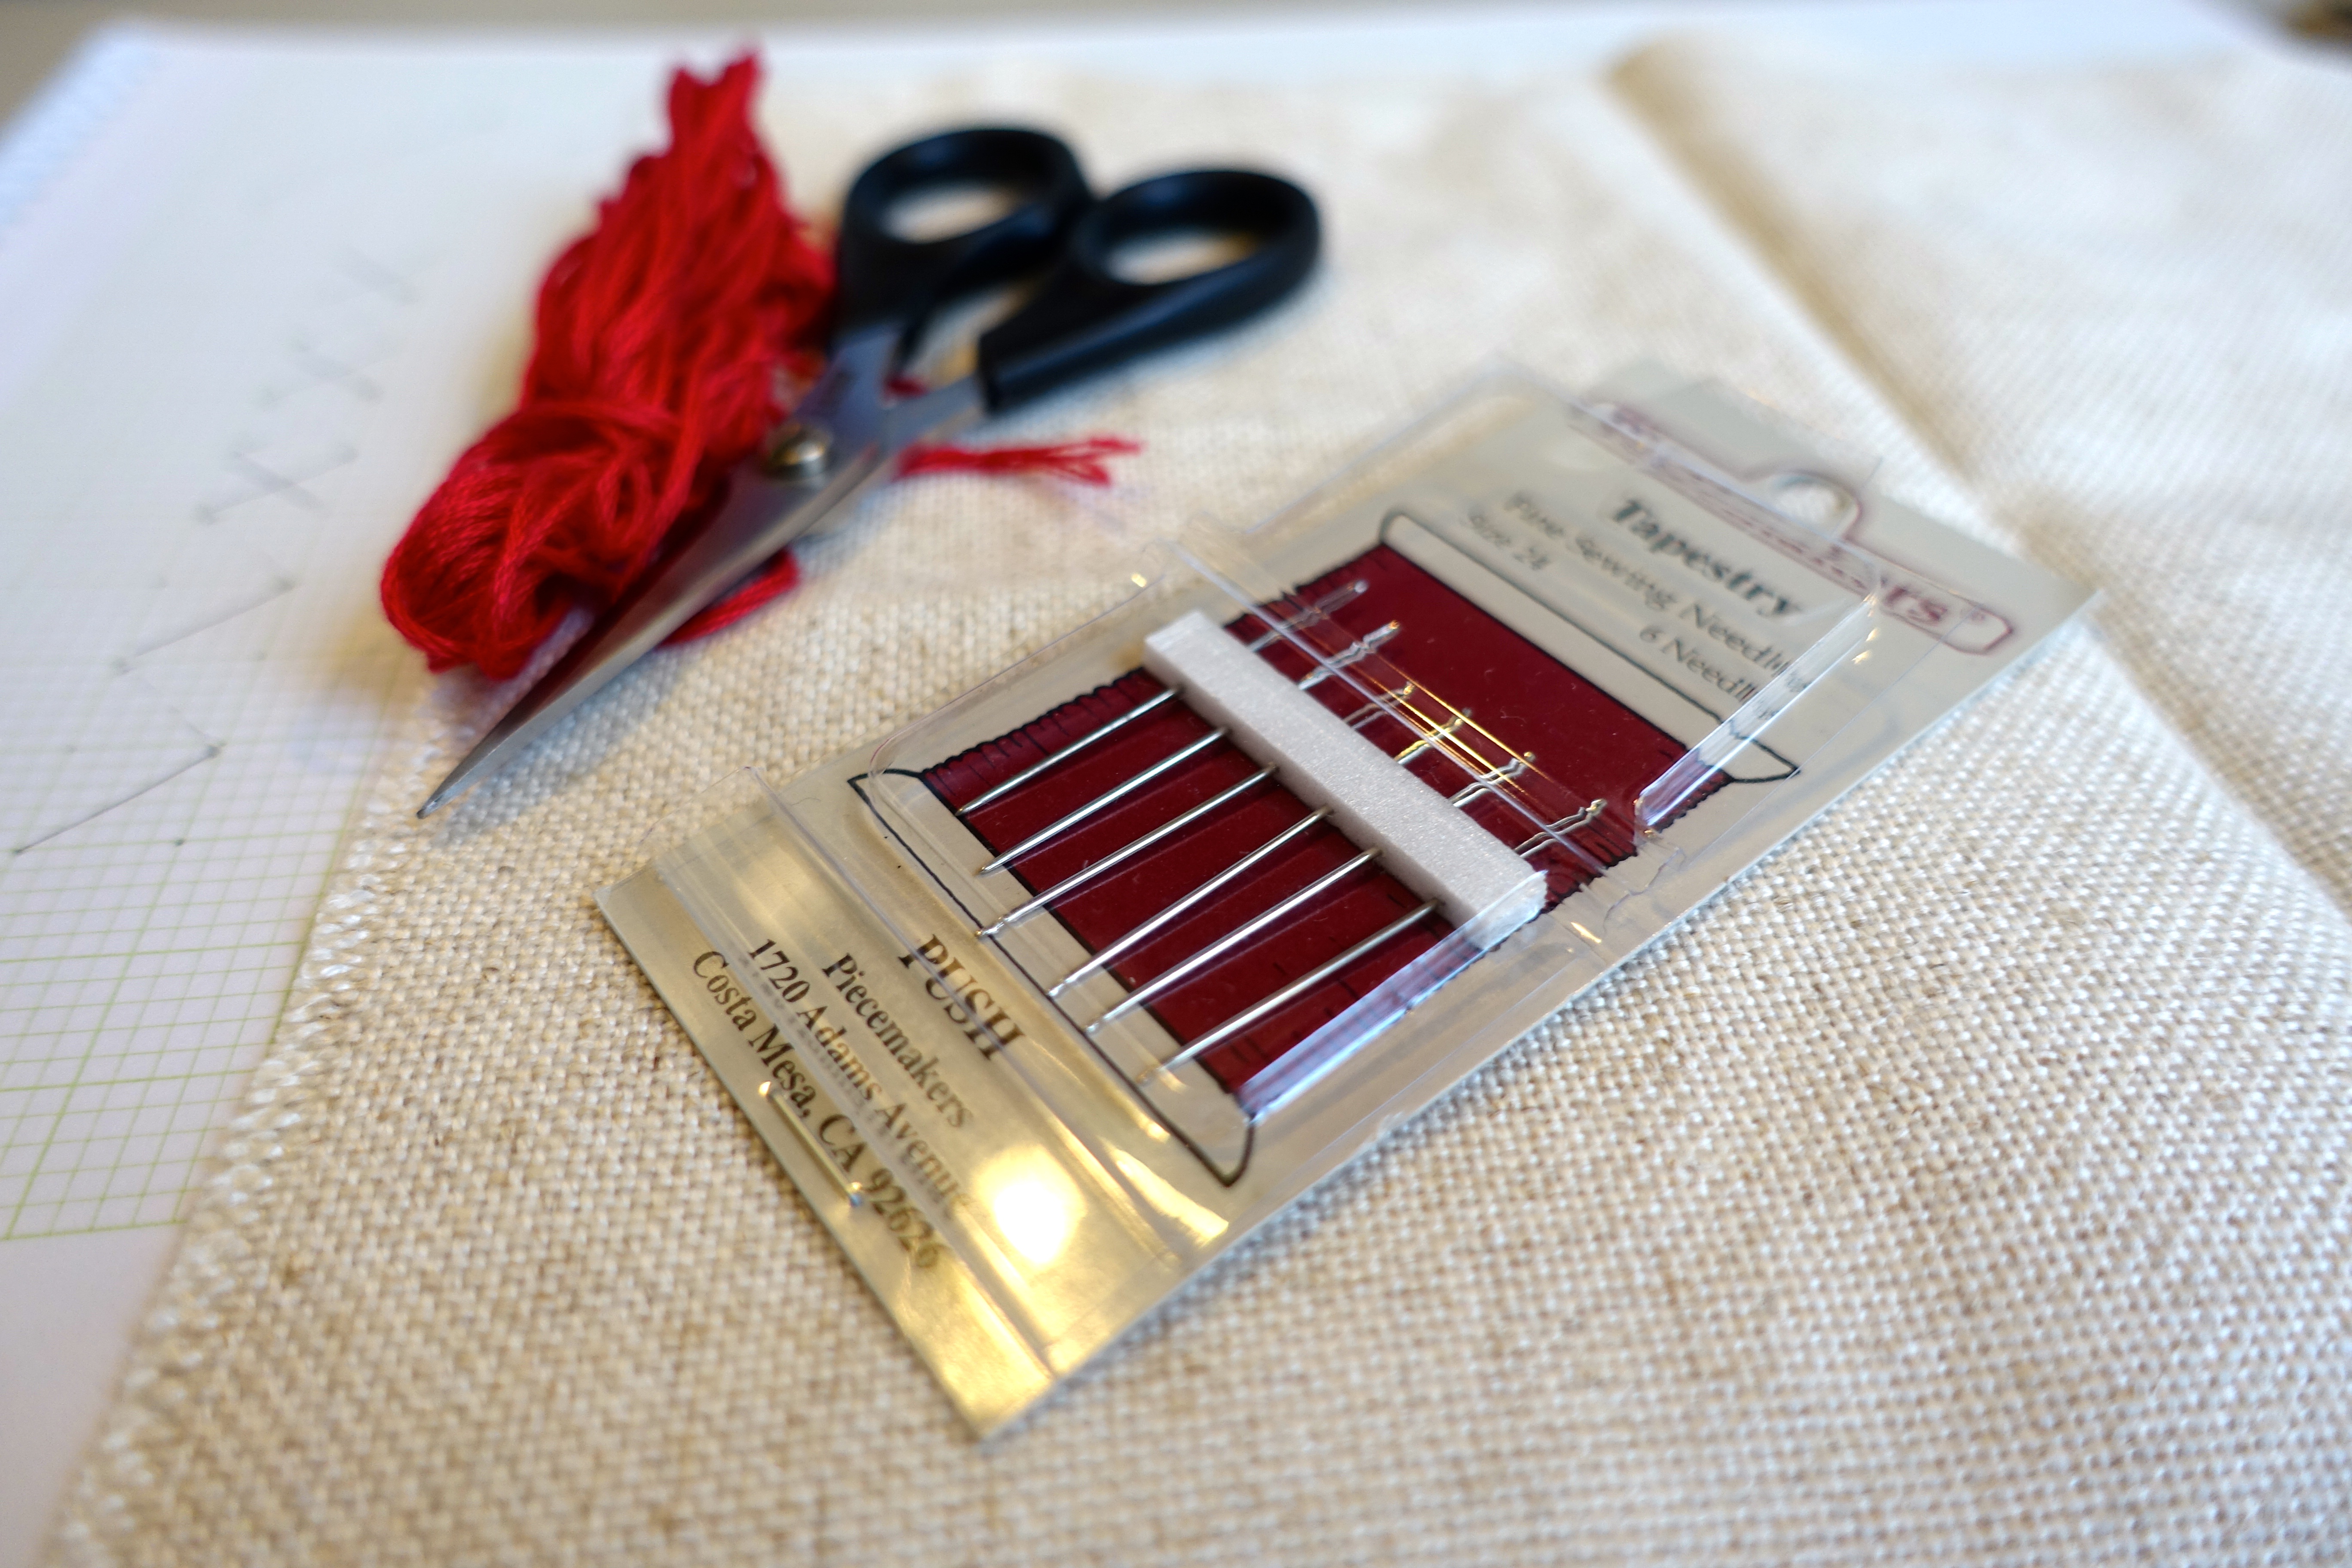 An off cut of Floba fabric, some cherry red cotton and some gold
Before I get going with photos and how tos, you might like to have a look at NO KNOTS! NO KNOTS! ~a how to post~, because part of what I’ll do here is a no knots technique to tucking thread ends, and The flip side, because the other part of what I’ll be discussing here is how to cross stitch and keep the flip side super tidy.
Apart from a tidy flip side and no knots, another “rule” I picked up somewhere along the way with regards to cross stitch is that all of the stitches be oriented the same way. What I mean by this is that if your initial stitch goes bottom left to top right of the cross and the overlying stitch goes the other way, this needs to be uniform for the whole piece, the whole design. Part of what I will be covering here, is how to achieve this without too much of a headache.
That has everything to do with whether you’re a lefty or a righty.
I’m right-handed and the pictures below in red thread pertain to righties. The gold thread will show what lefties might do.
Embroidery is supposed to be fun and rhythmic and it is supposed to flow. Making awkward angles with your hand or wrist to get your needle to certain places interrupts the rhythm and flow of embroidery.
Let me demonstrate with some photos.
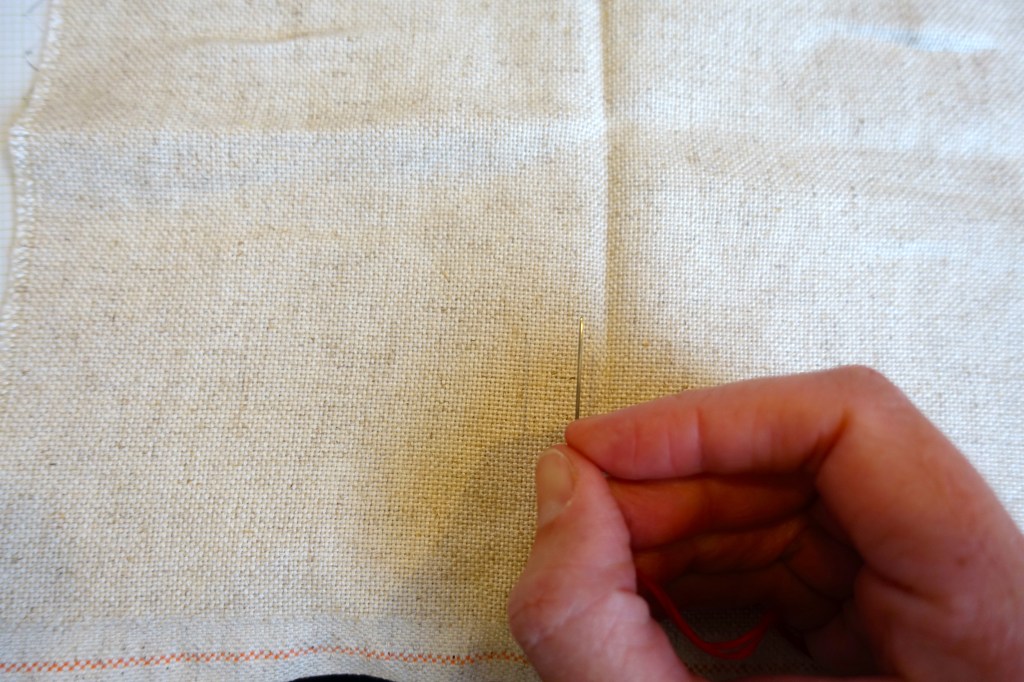
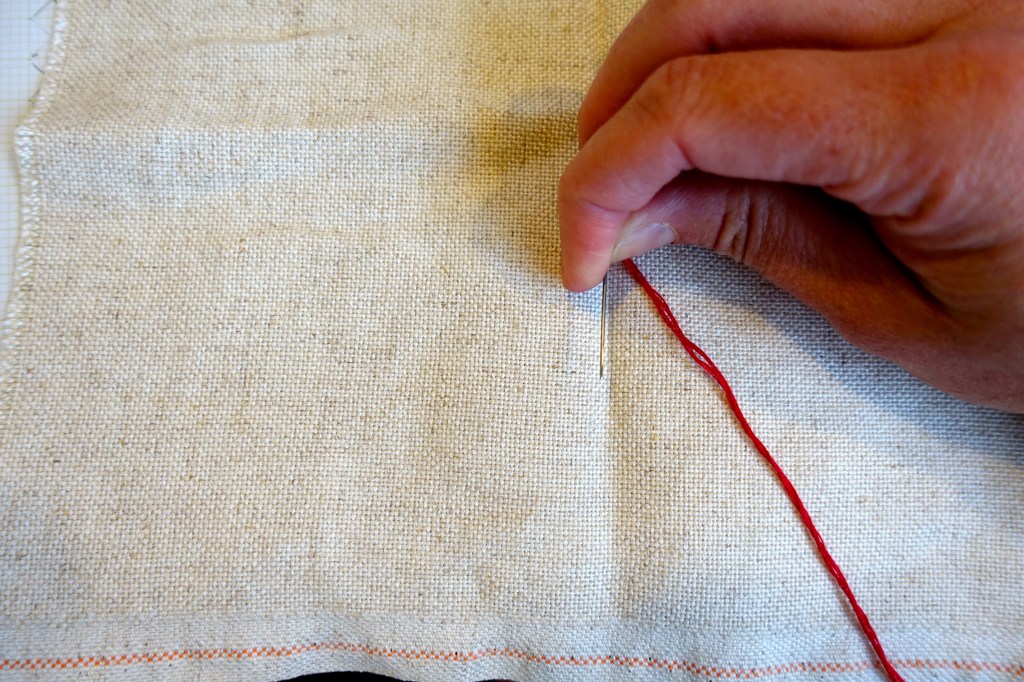
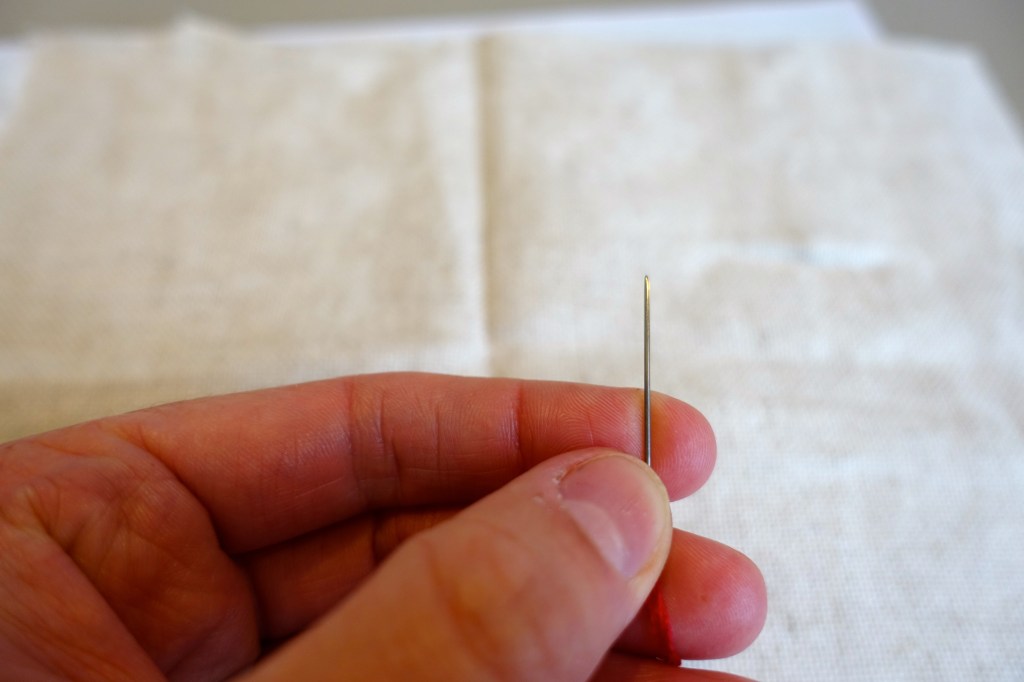
If you’re right handed, you can easily push your needle through fabric oriented upwards, downwards or to the left:

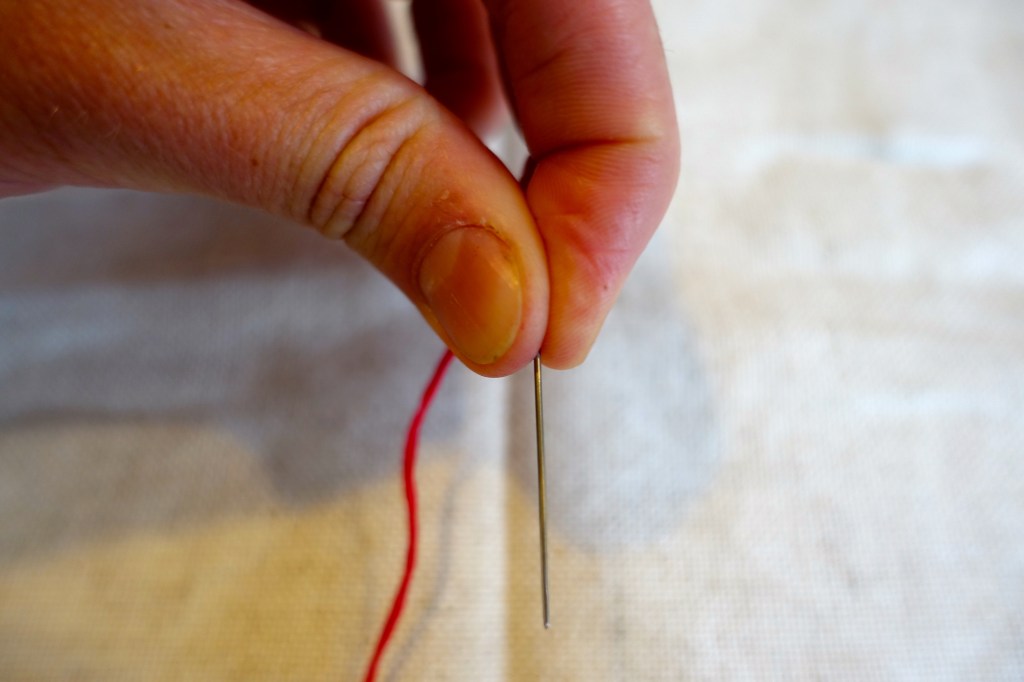
However, it would be very awkward as a righty to try to push the needle through fabric towards the right. Imagine my wrist in this photo:
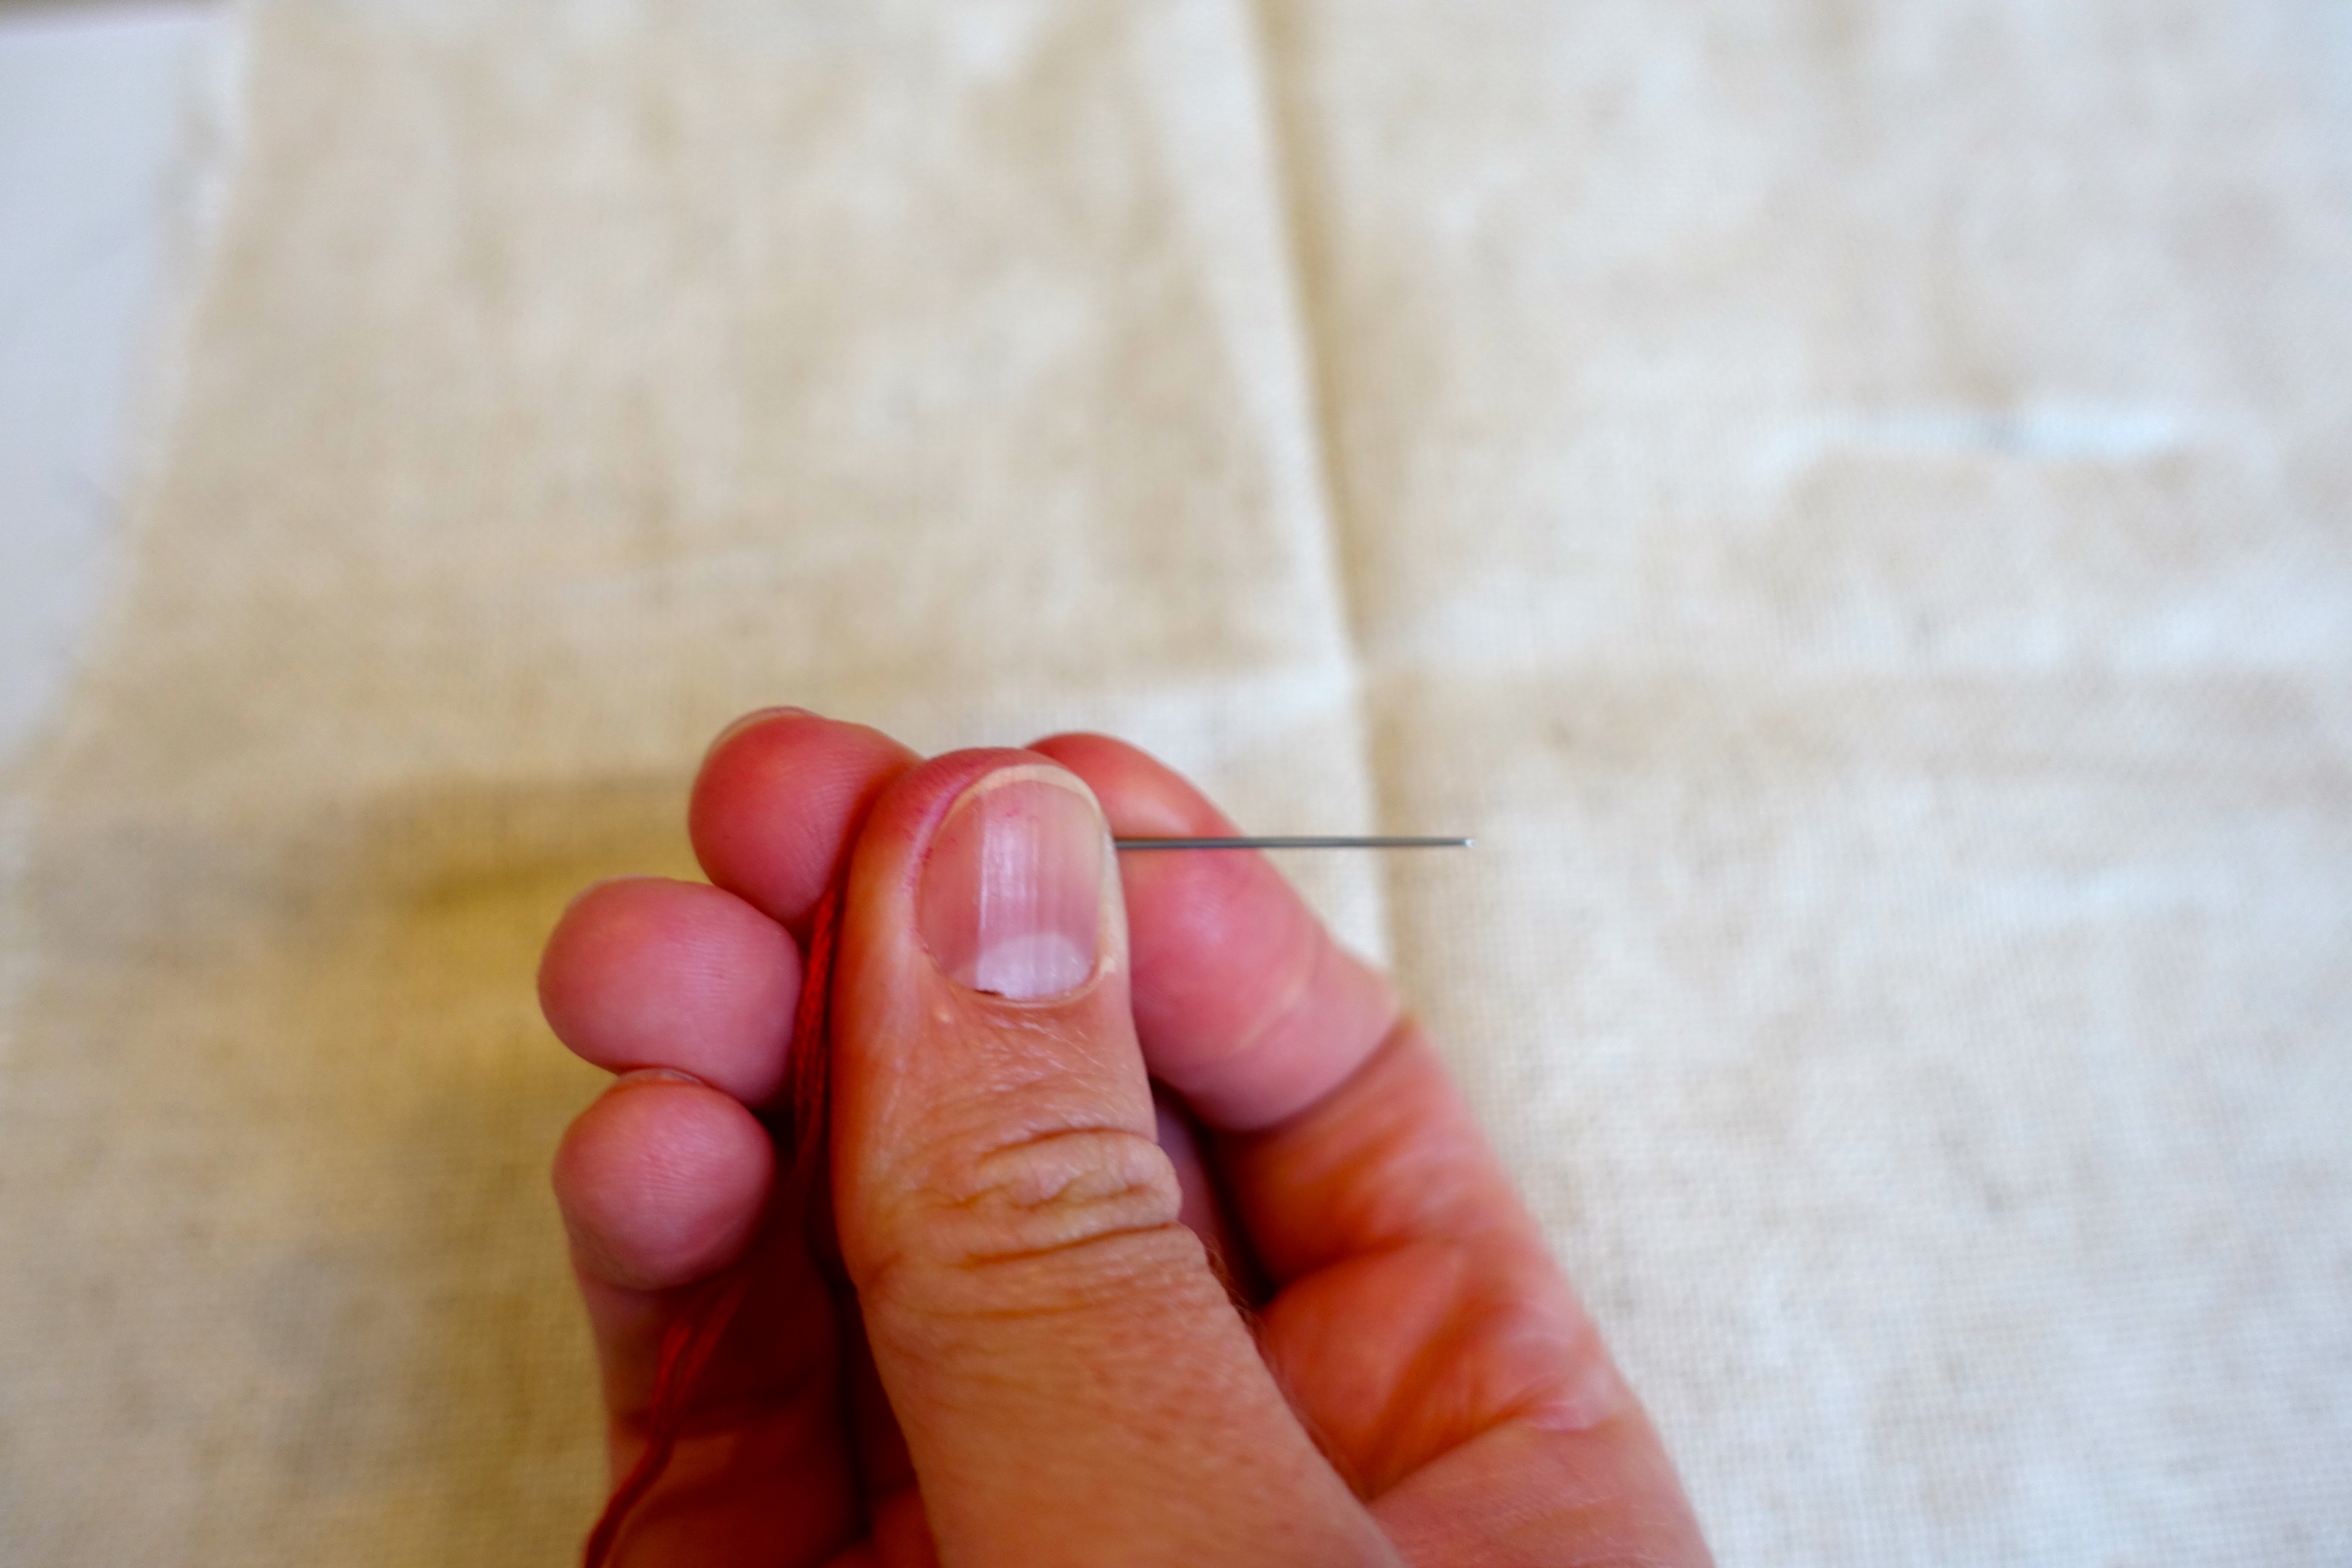
This looks and feels awkward.
On the other hand, if you’re a lefty, you can easily push your needle through fabric oriented upwards, downwards or to the right:
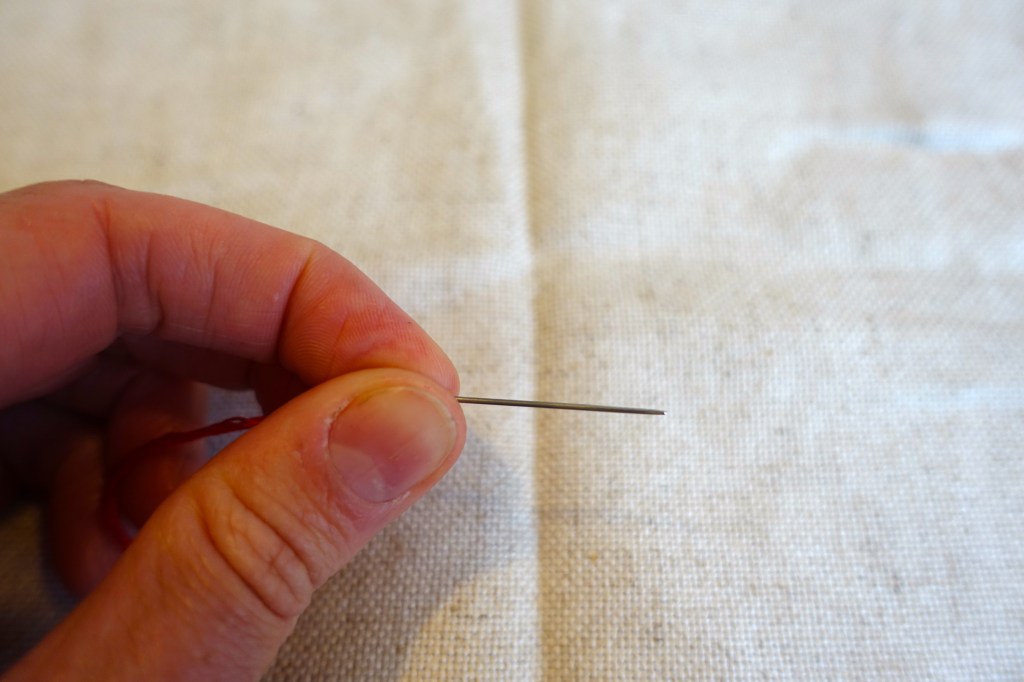
However, you can imagine it would be very awkward for a lefty to try to push the needle through fabric towards the left.
So, we’ll be learning to cross stitch so that we have a tidy flip side, no knots, the threads forming the crosses oriented in the same direction and in such a way that we don’t need to make awkward angles with our hands and wrists.
Before we start stitching, a quick note about splitting stranded cotton. I’ve not yet carried on too much about “coverage” (but it’s coming). Coverage refers to the thickness of the embroidery, which is a result of the thickness of the embroidery thread in relationship to to fineness of the fabric. For a 25 count fabric, a very comfortable way to use DMC stranded cotton is to use three strands at a time (of six strands).
6 strands of DMC stranded embroidery cotton.
It is separated into two lots of 3 strands and 3 strands used at a time.
The first step is to cross stitch in a direct line, either vertically or horizontally. Always form a stretch of half crosses and then complete them by coming back the same way. Unless a cross is on its own, it never gets stitched completely – neighbouring crosses are stitched in a row of halves and then a returing row of halves.
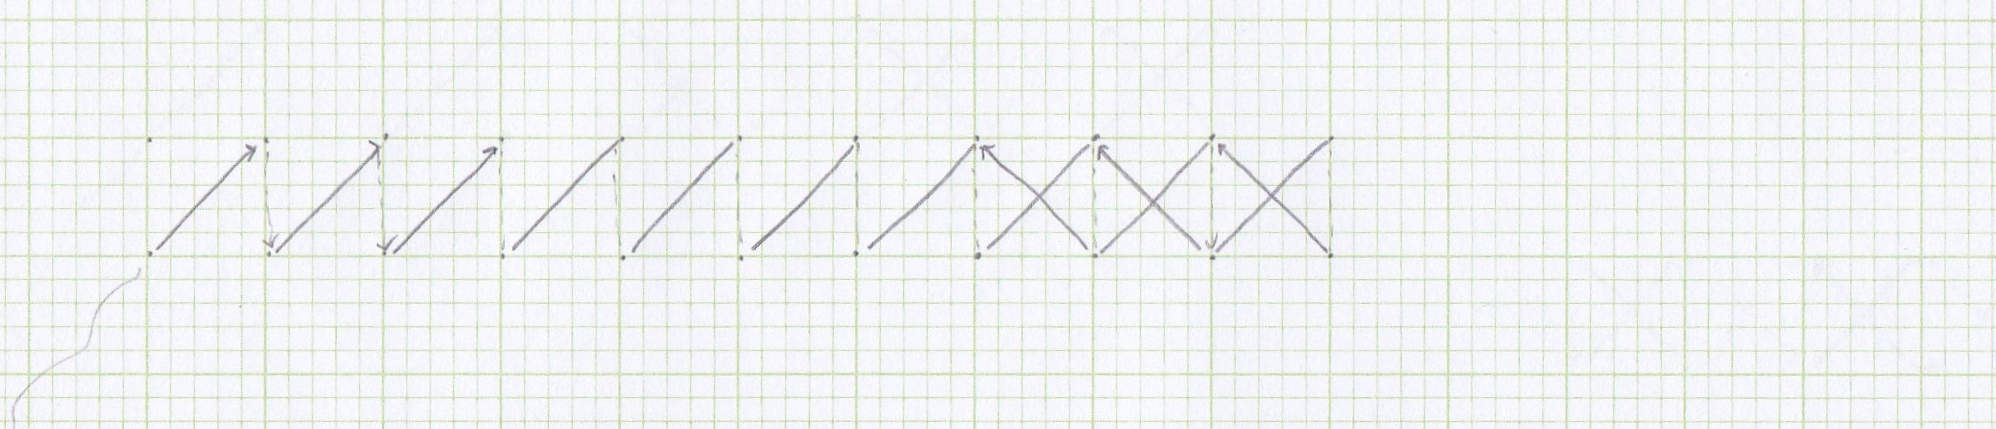
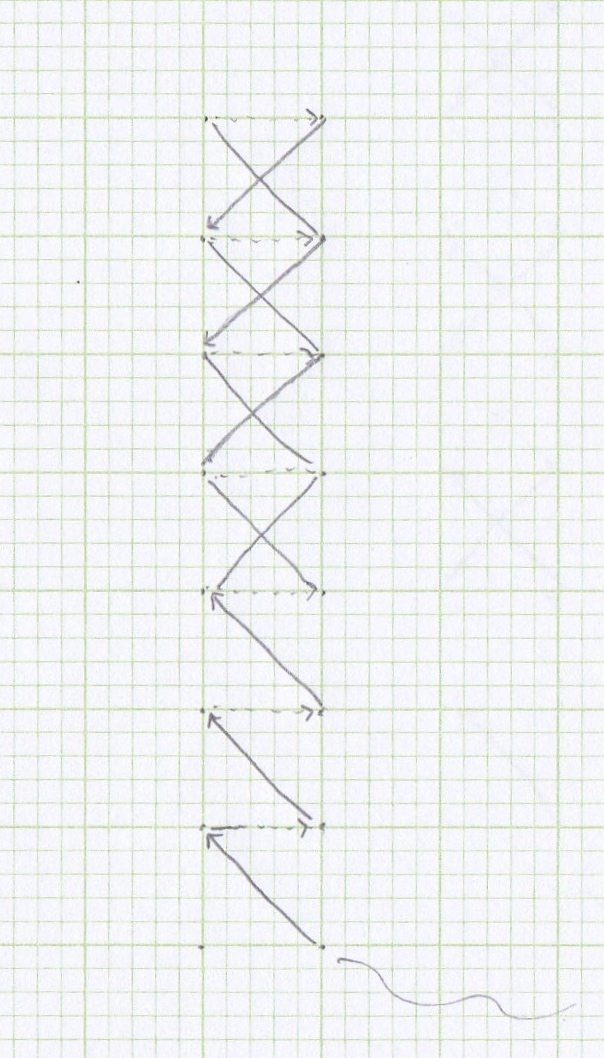
For a righty, making a row of vertical crosses looks like this:
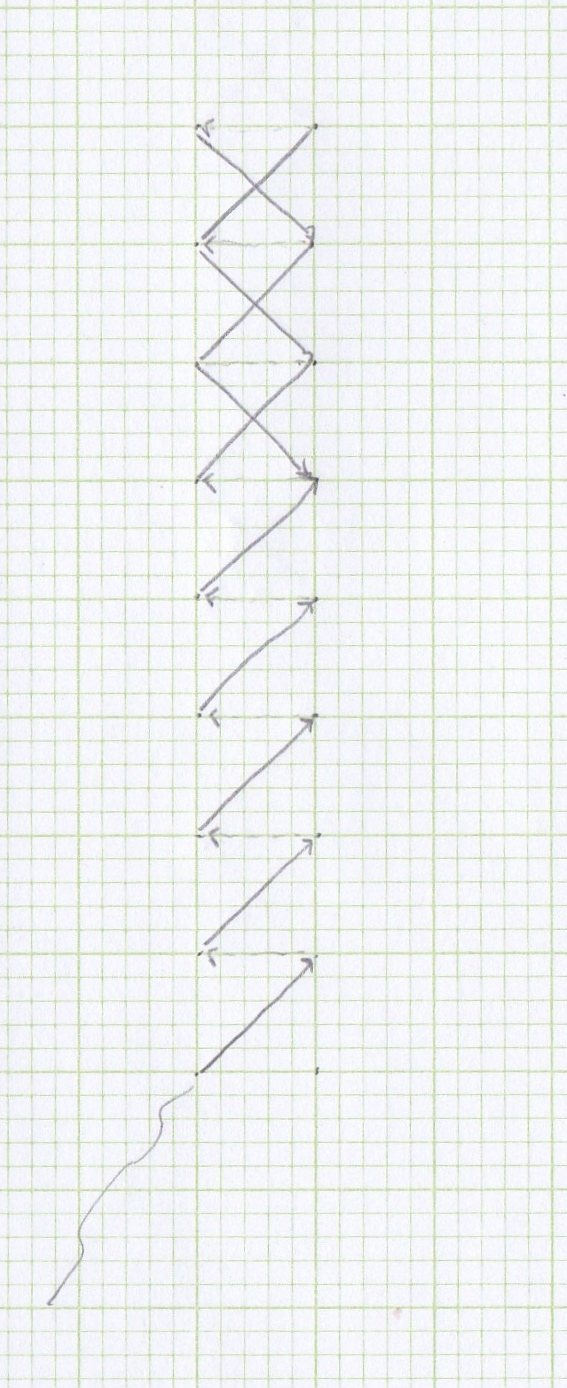
There is a tail end of thread, which we will tuck under the back side of stitches when we have some stitches available. The half crosses are formed from bottom left to top right (solid line) and the needle makes a horizontal movement to the left on the flip side (dotted line) to come through in the bottom left of the next cross. To change direction, come back the other way and complete the next half of each cross, the needle still passes horizontally to the left under the fabric, but rather than emerging at what would be the bottom left of the next cross up, it is now in the top left of the same cross and the next stitch brings the thread down to the bottom right. And so on.
So, it would look like this:
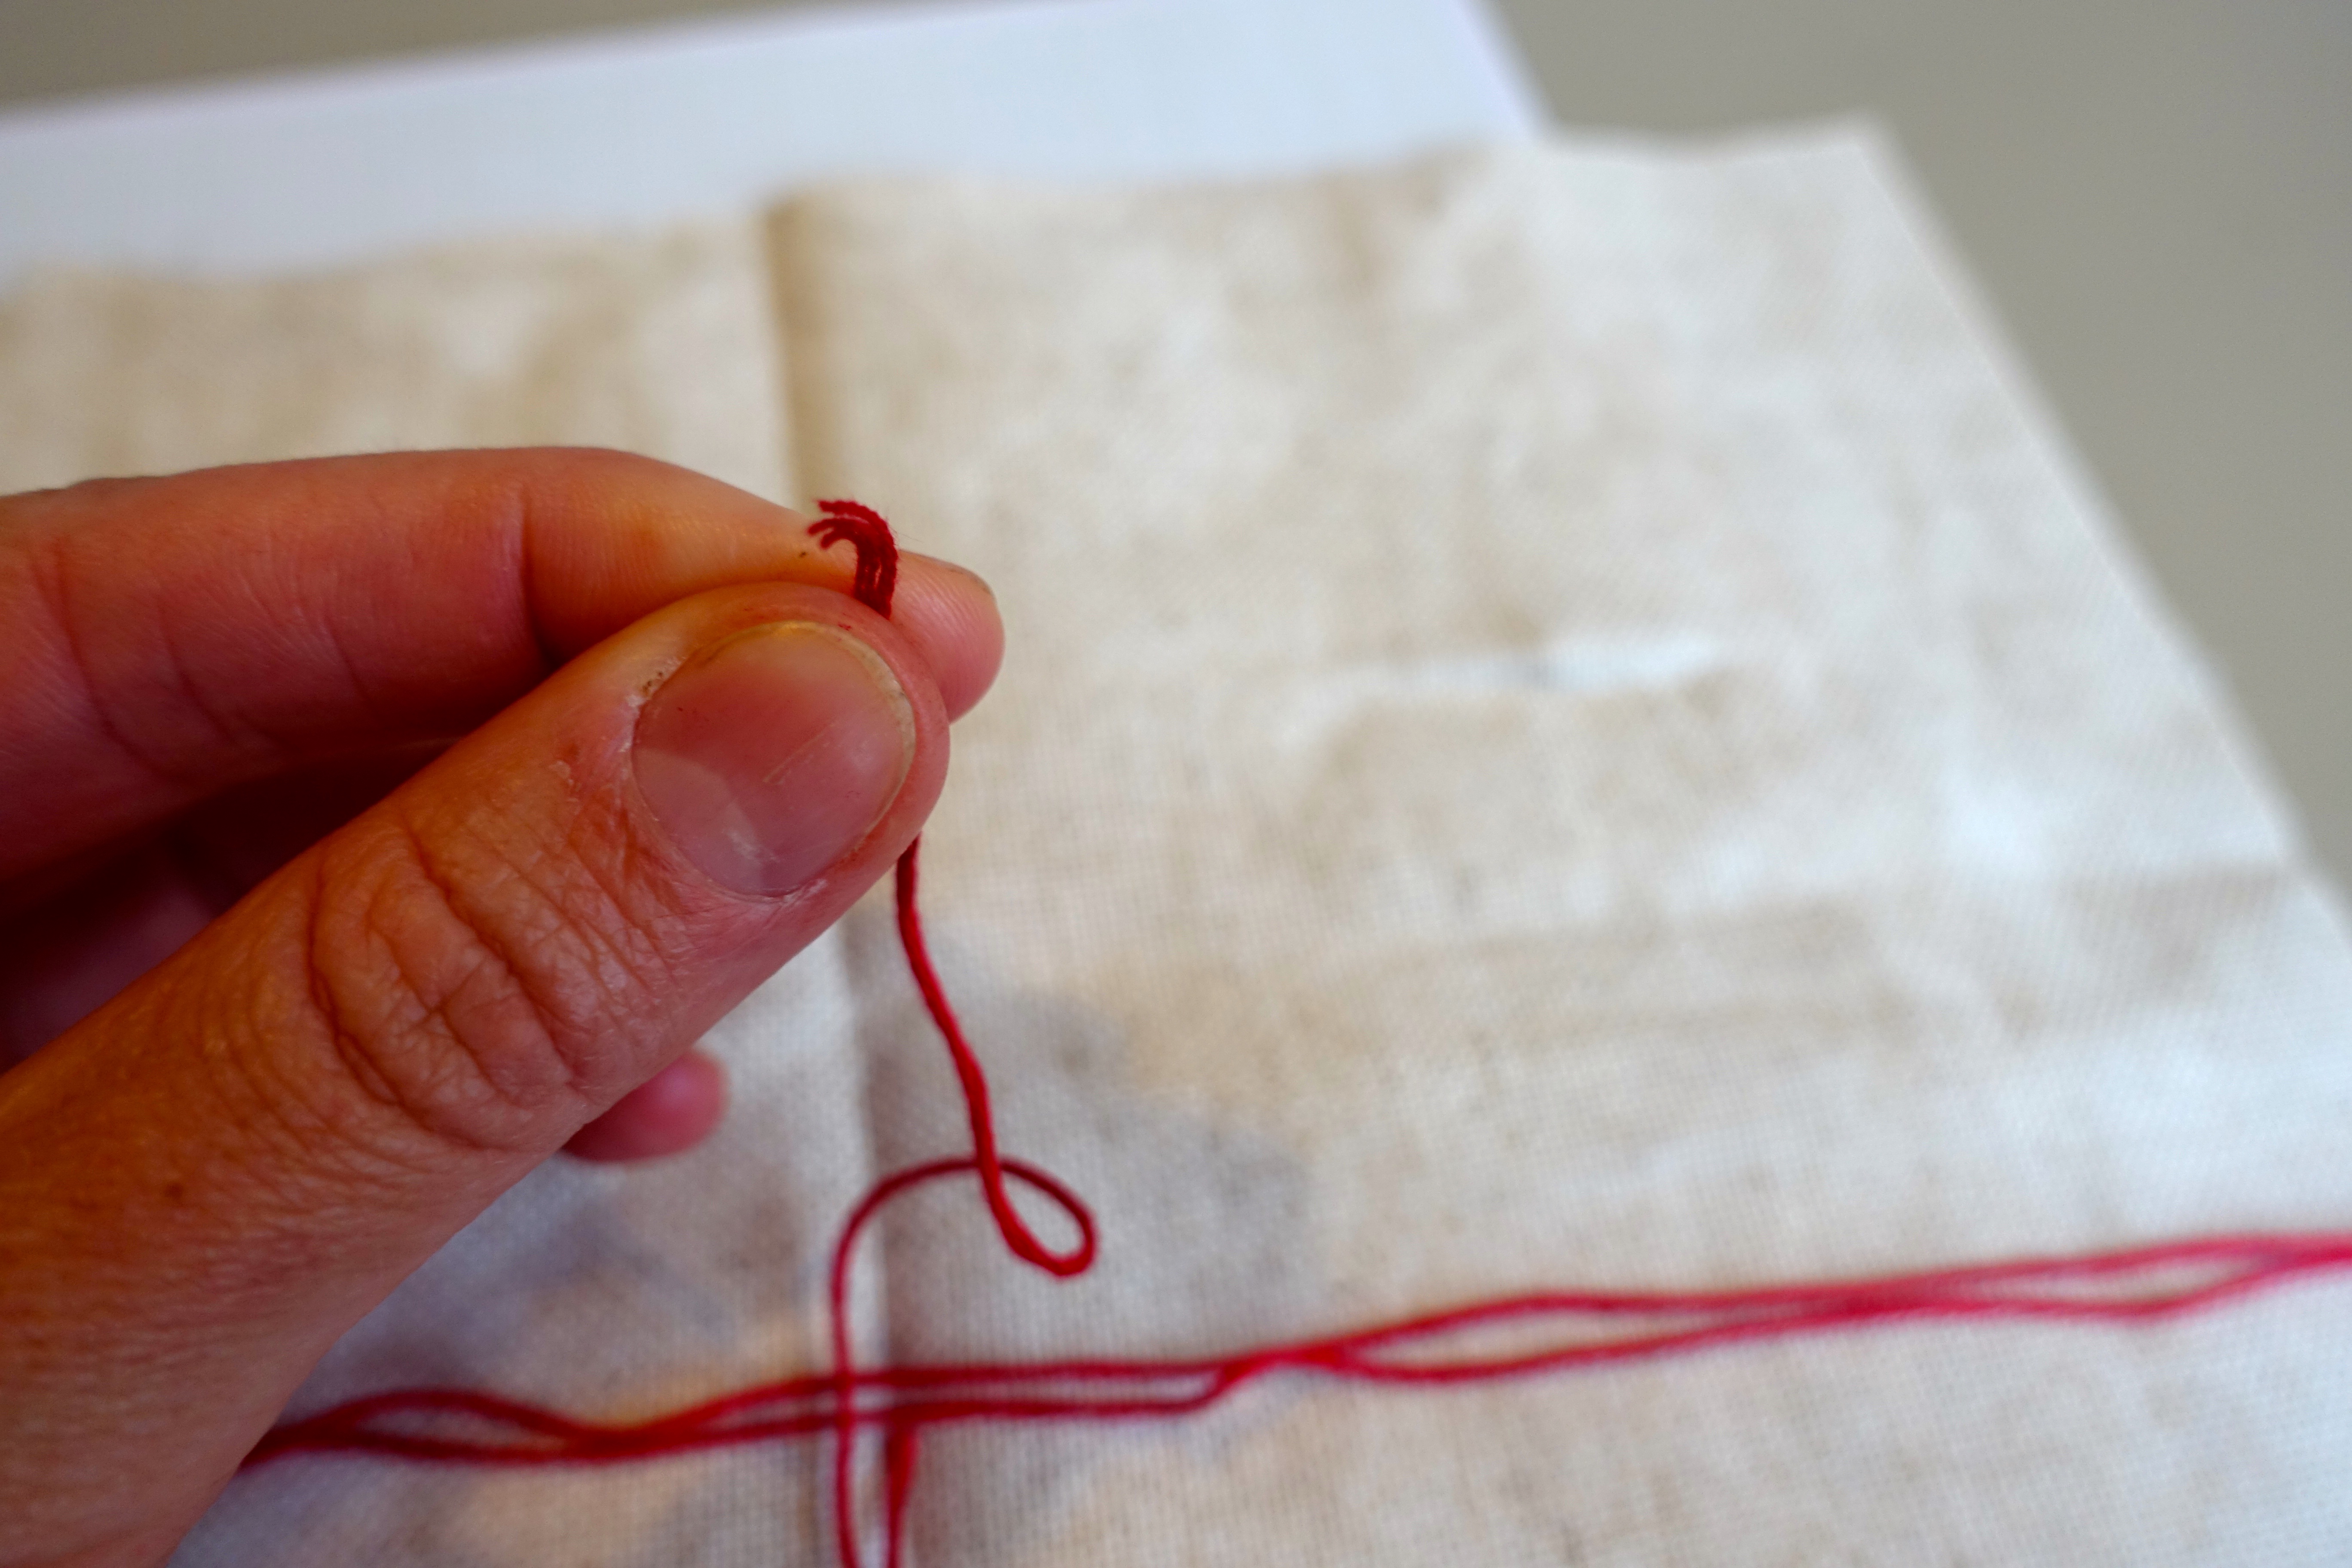
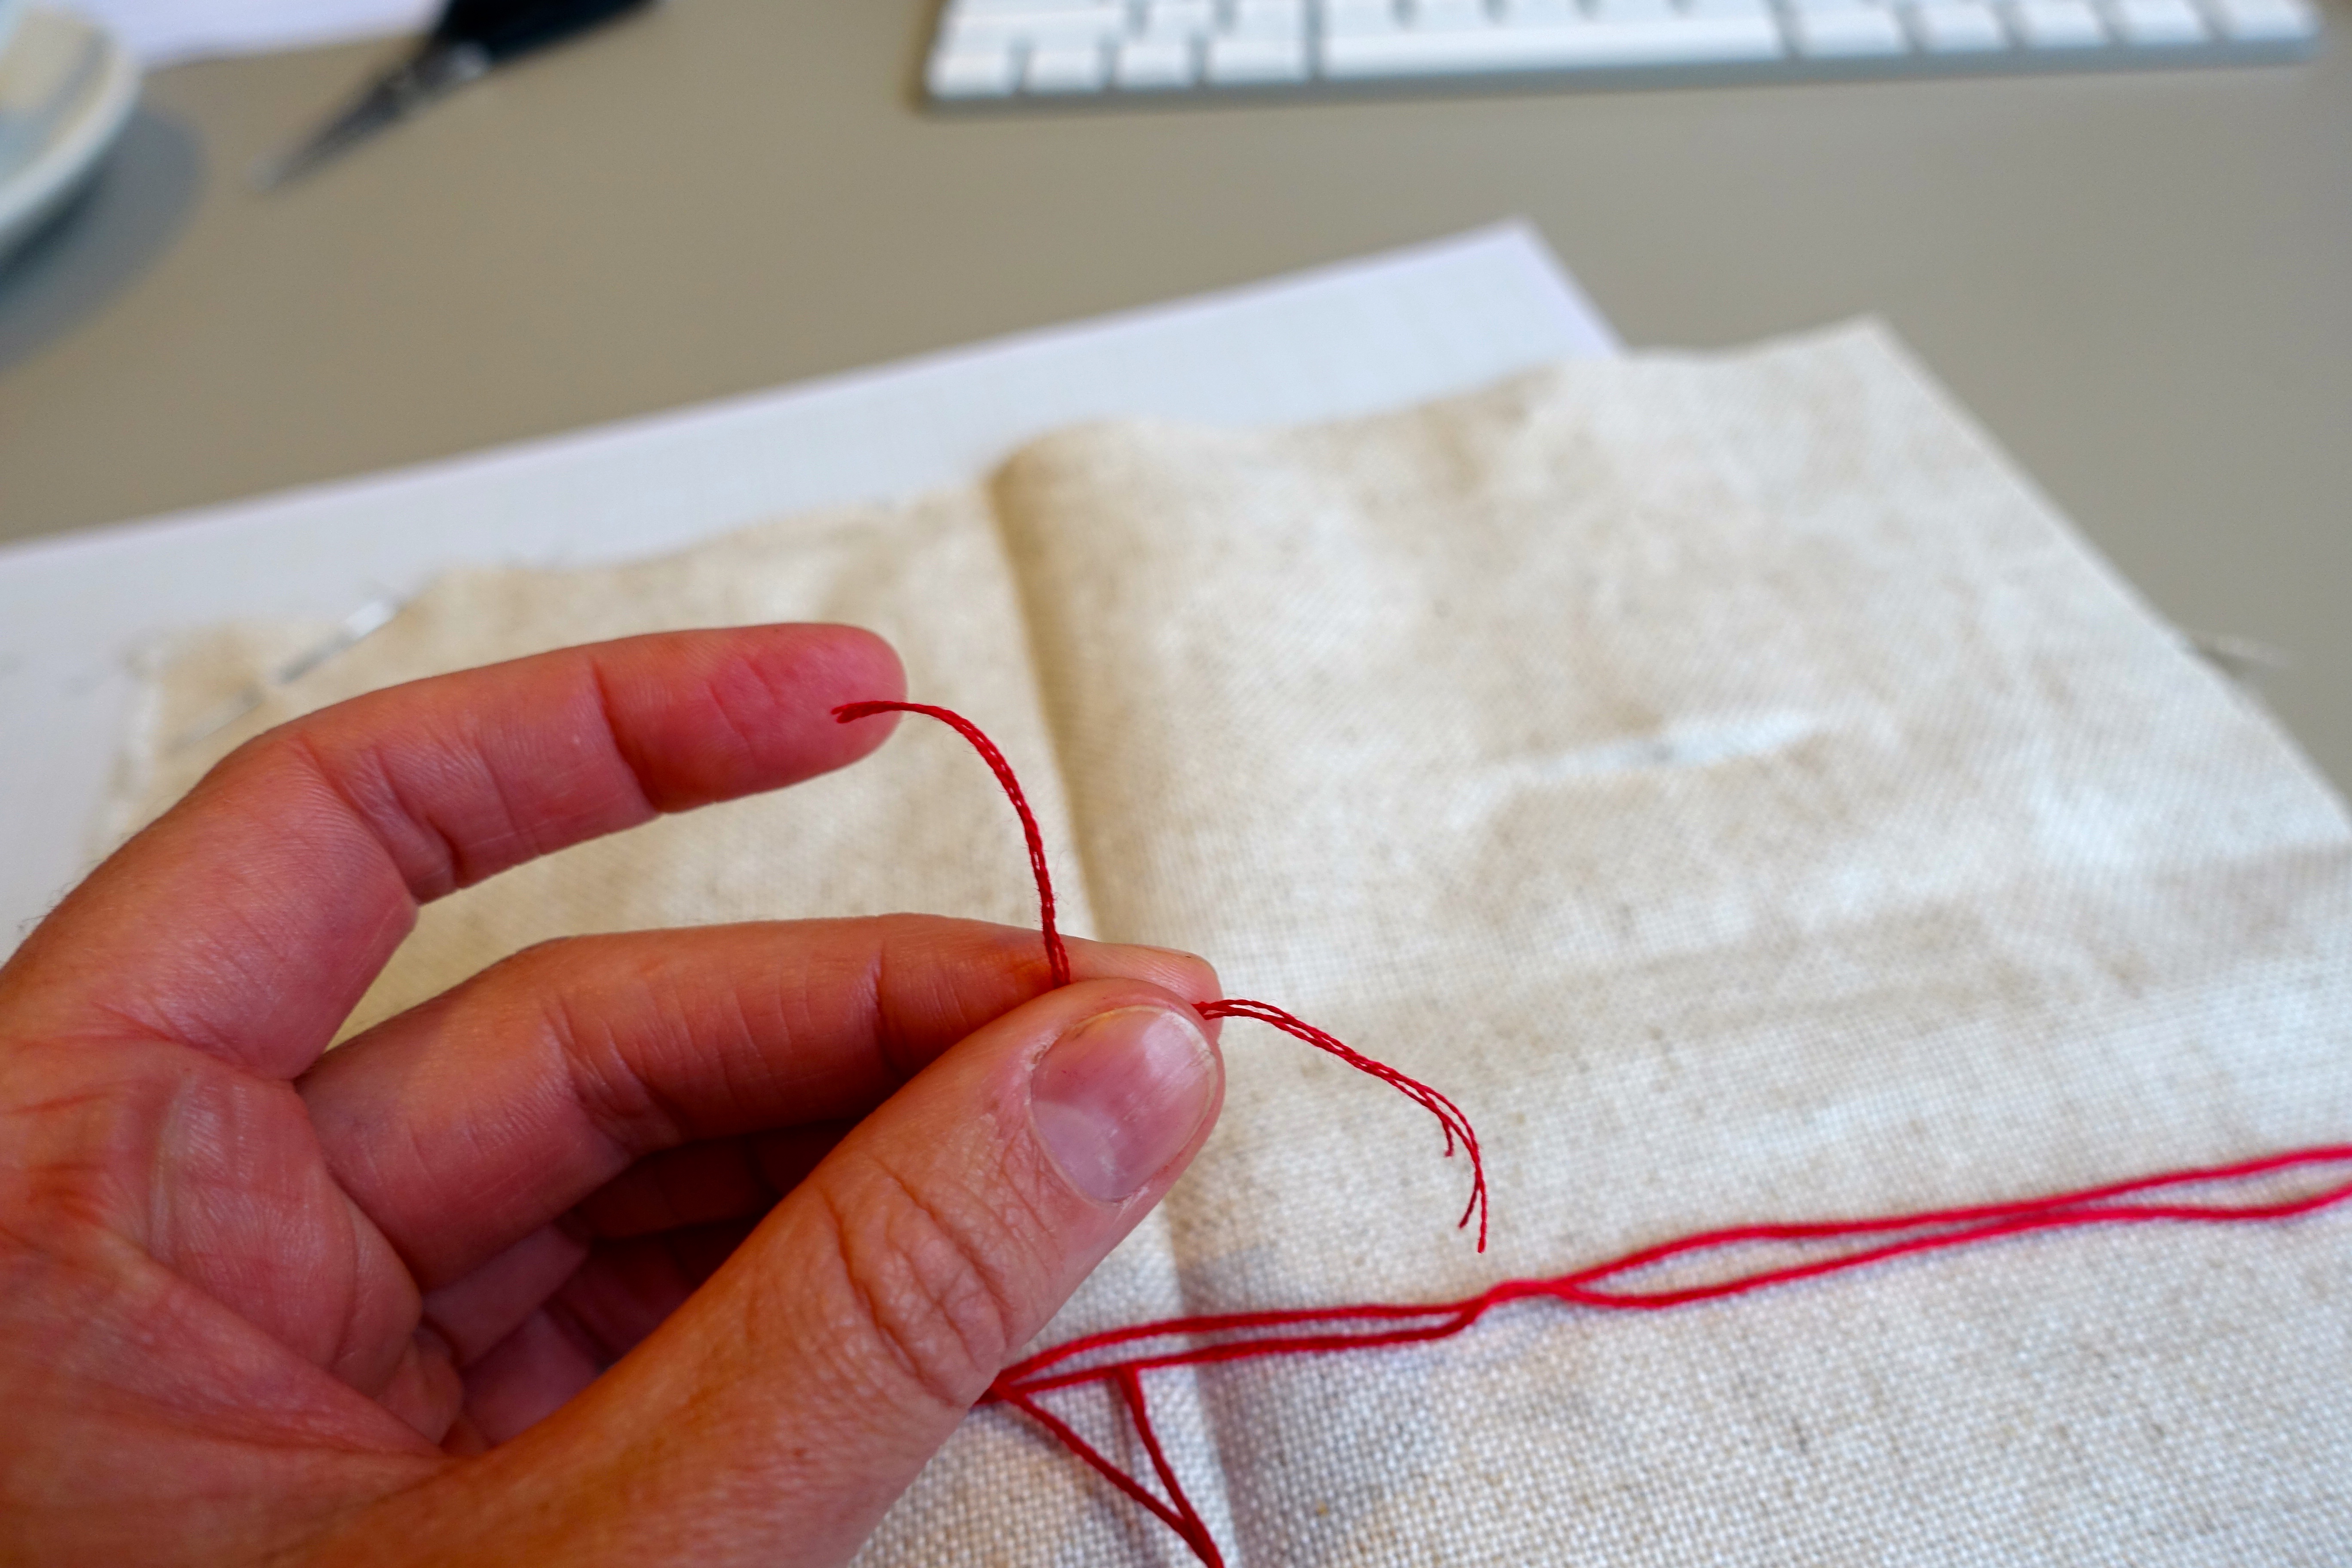
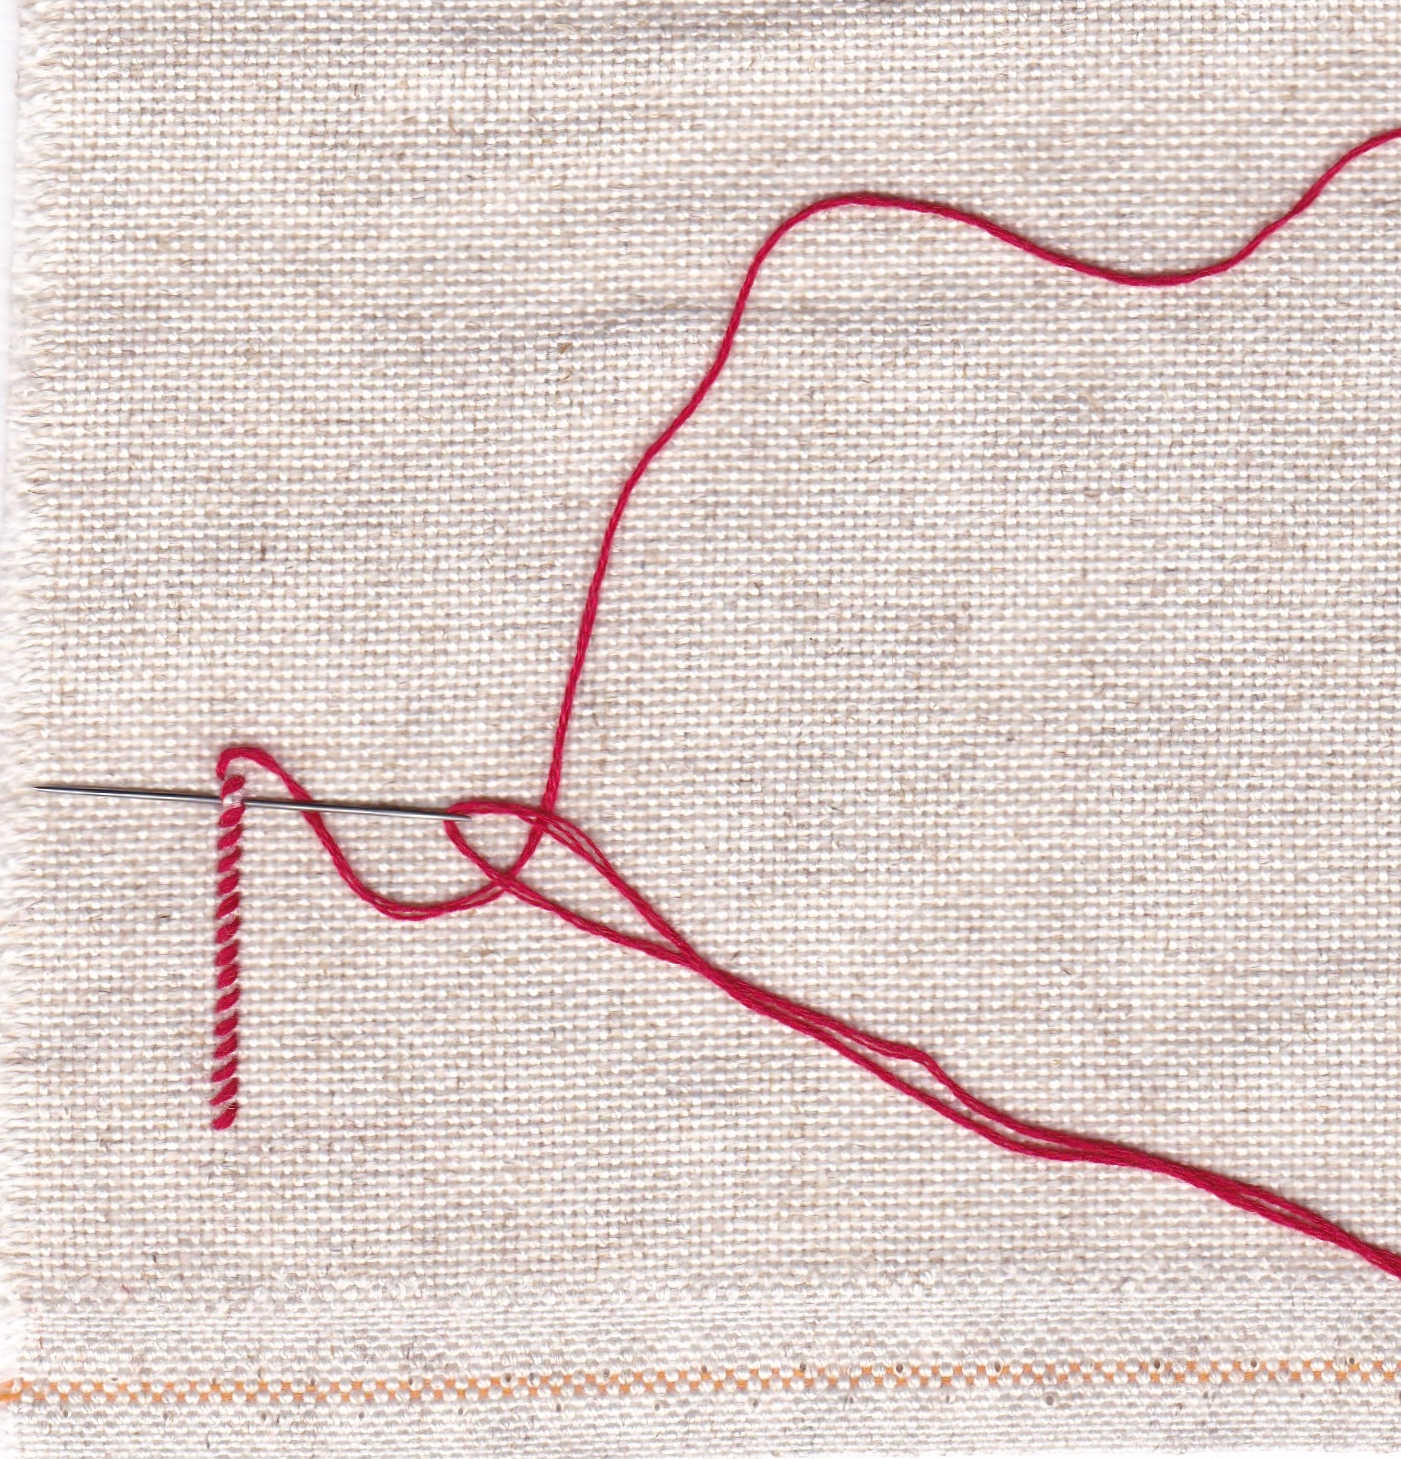
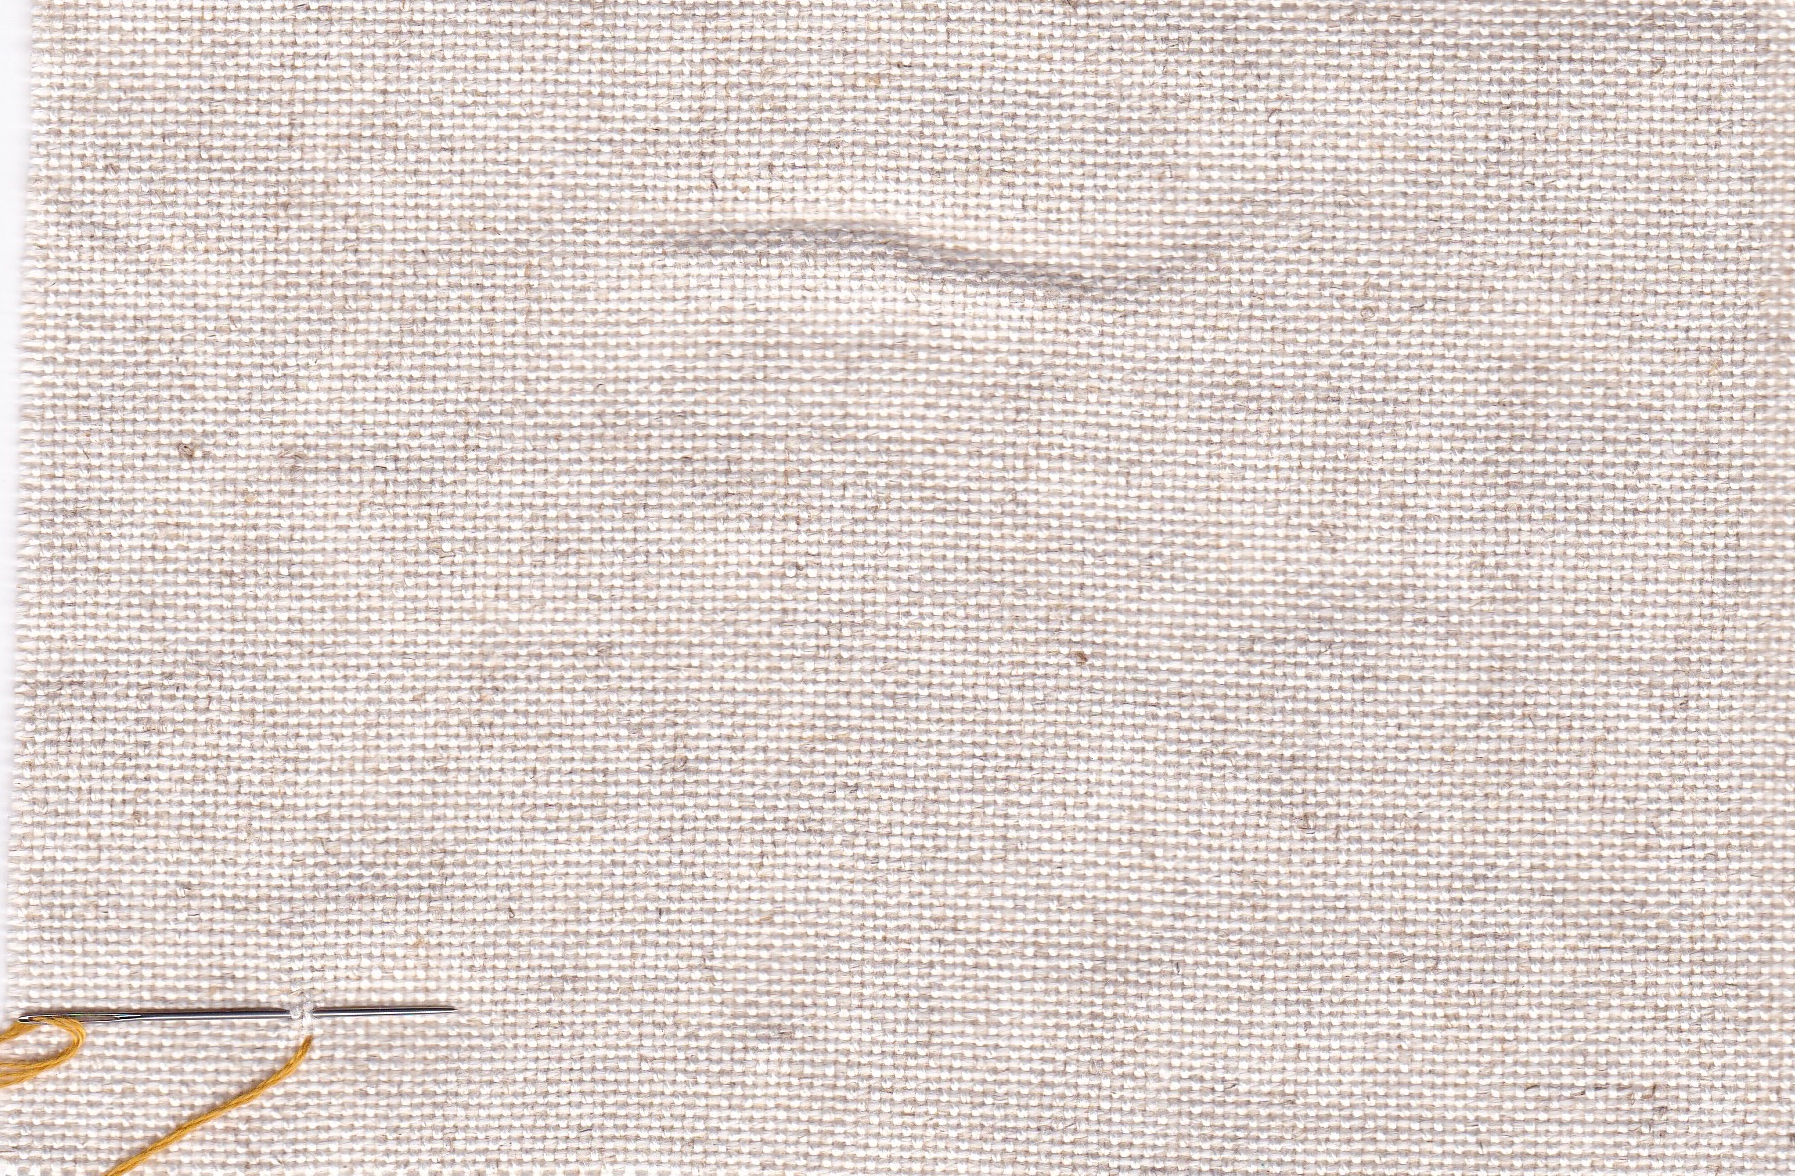
Here there are 3 strands of cotton threaded and at a starting point in the fabric. Note my thread tale that I’m holding to the side with fingers fo my left hand, for tucking under later when I have some stitches available.
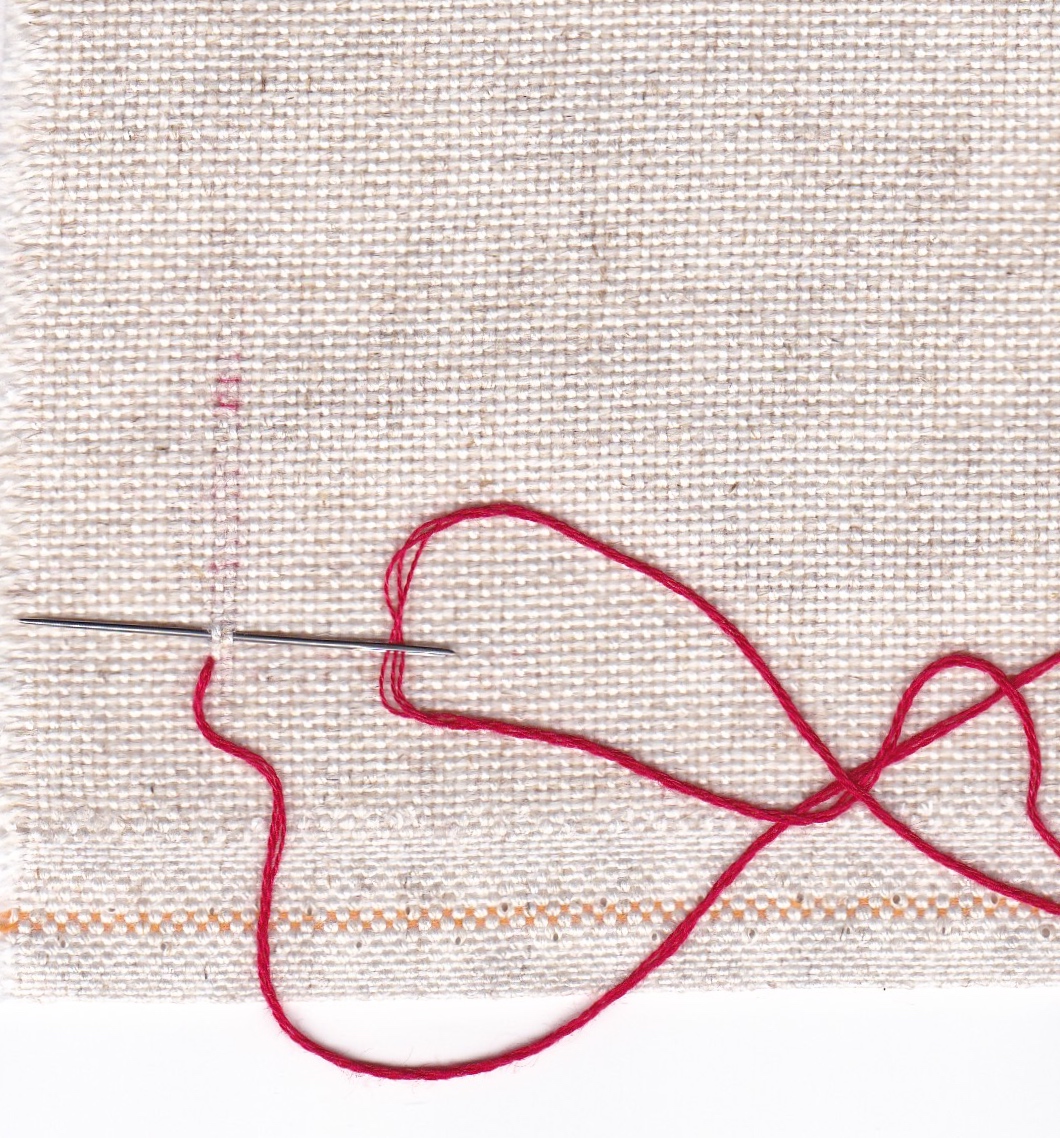
First stitch – capturing 2 threads of the fabric with each stitch, I put my needle into what would be the top right of the cross and then pass it horizontally under the fabric to for the bottom left of the next cross.

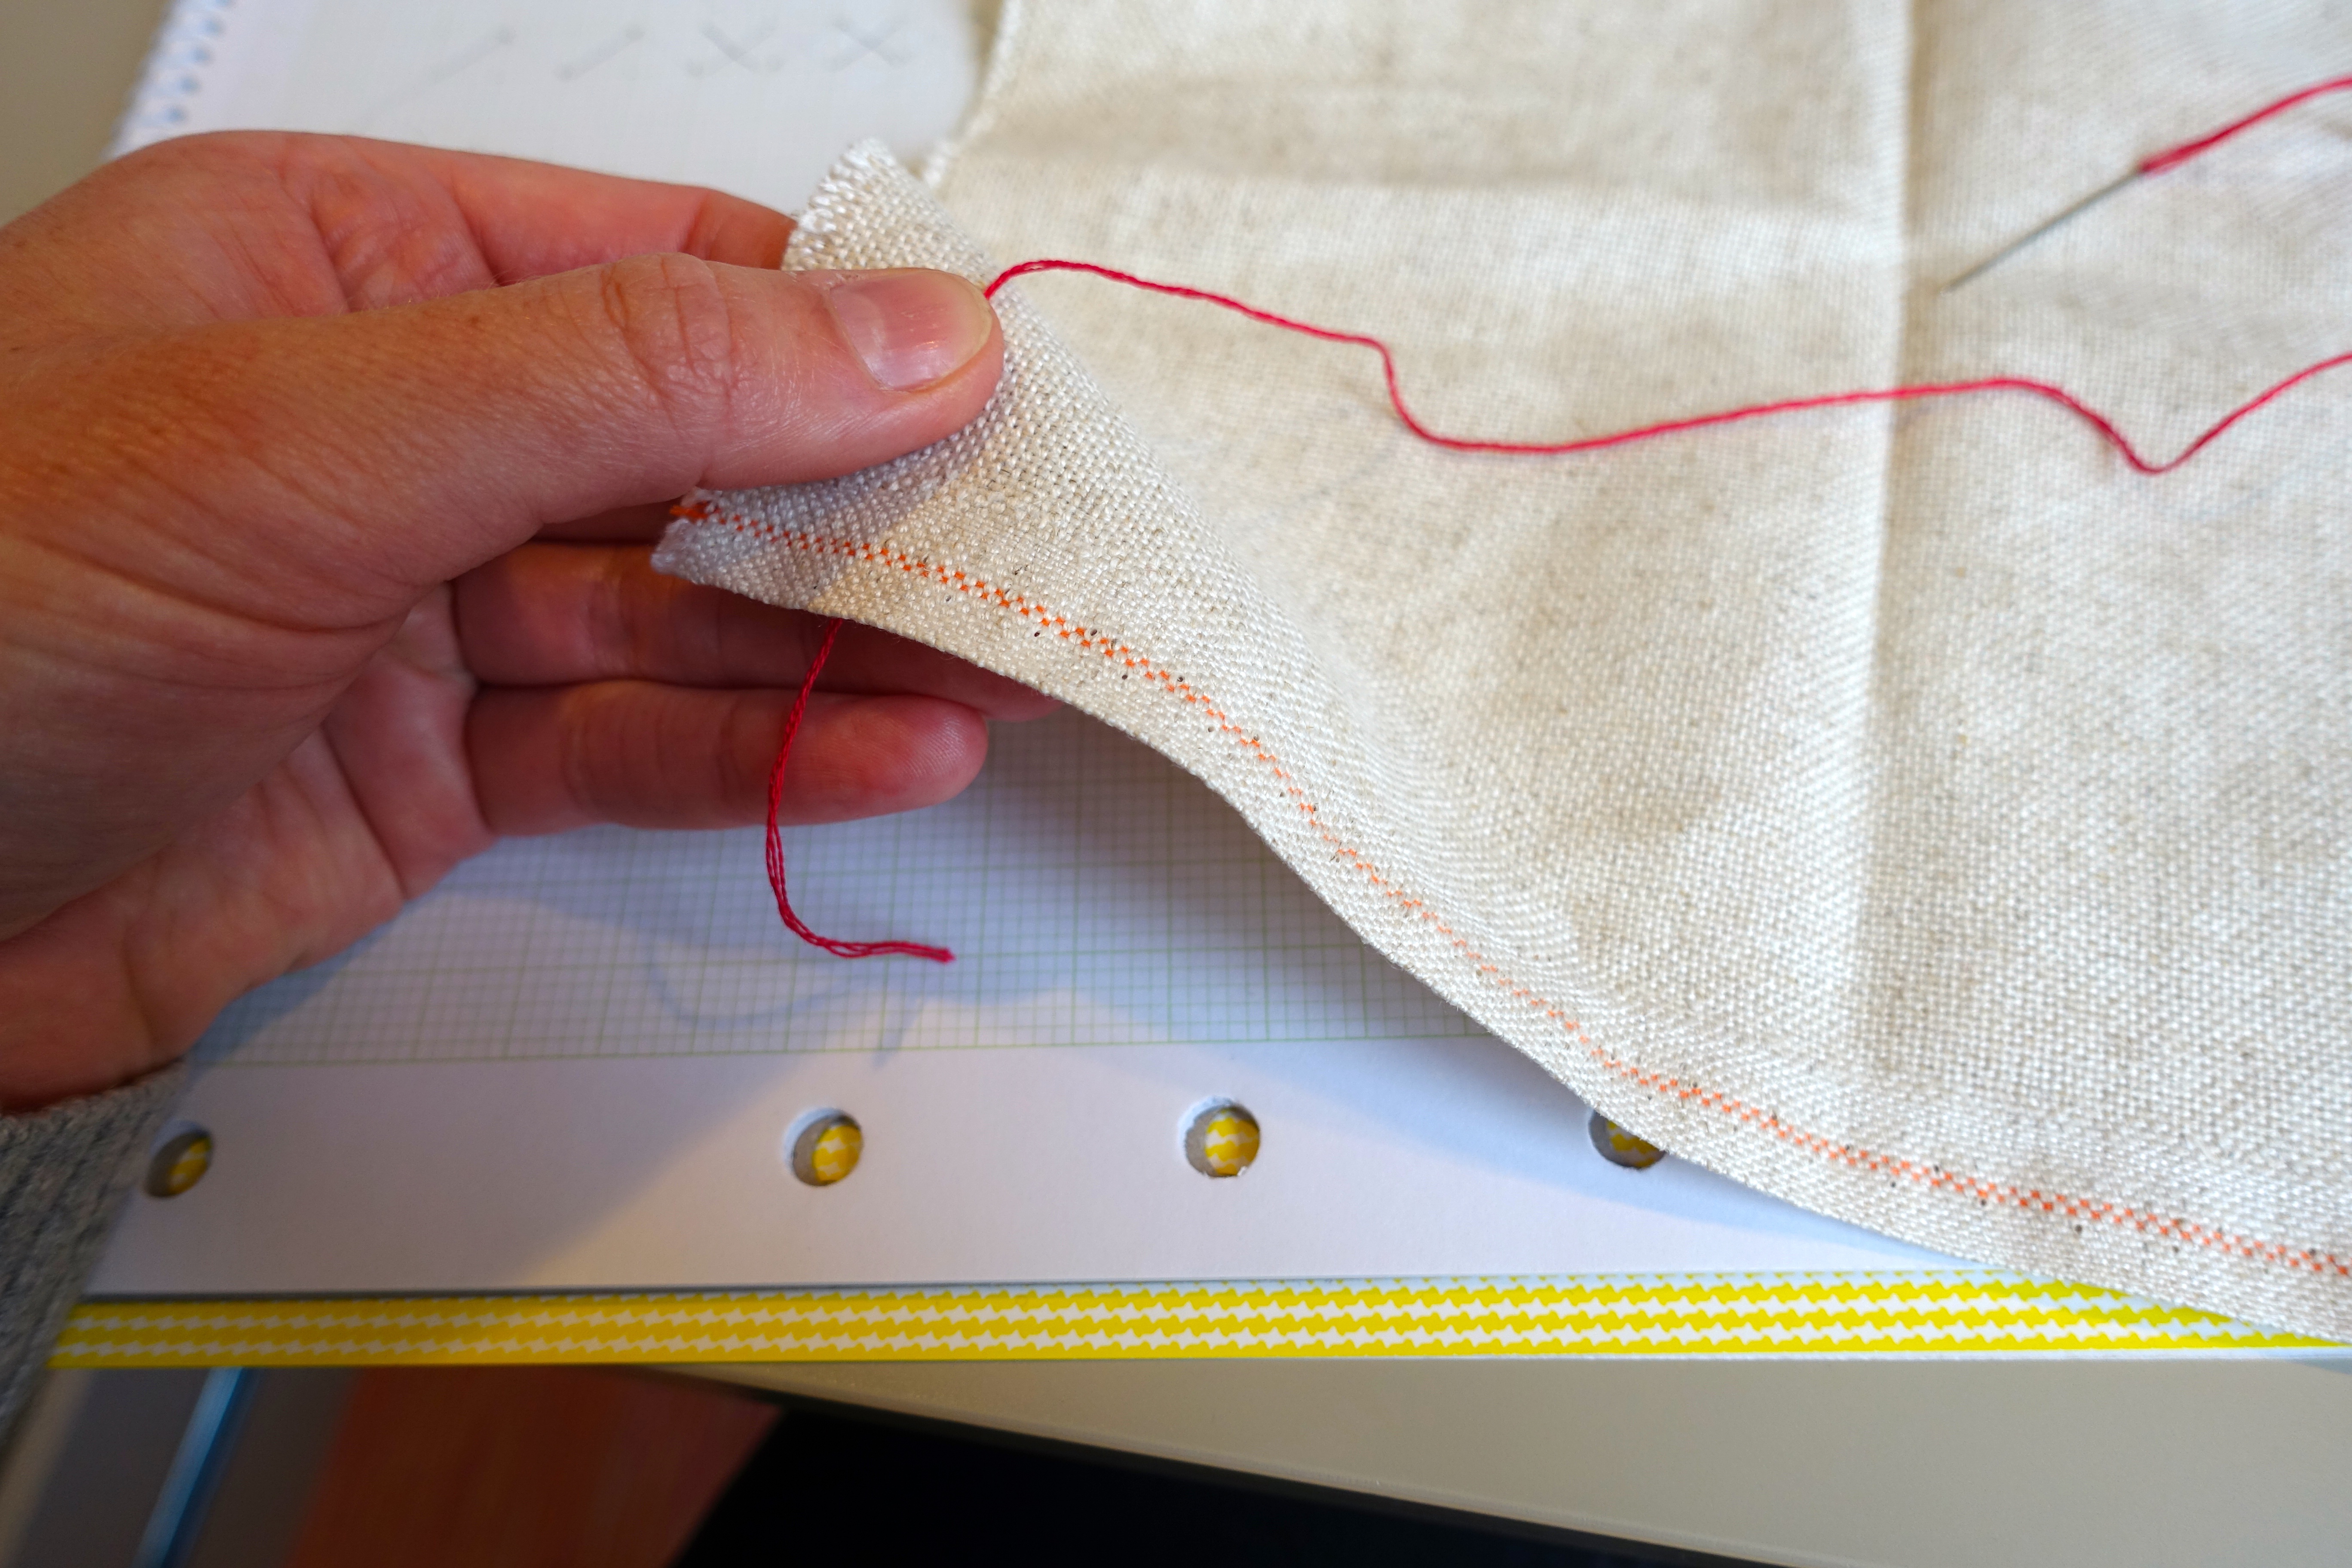
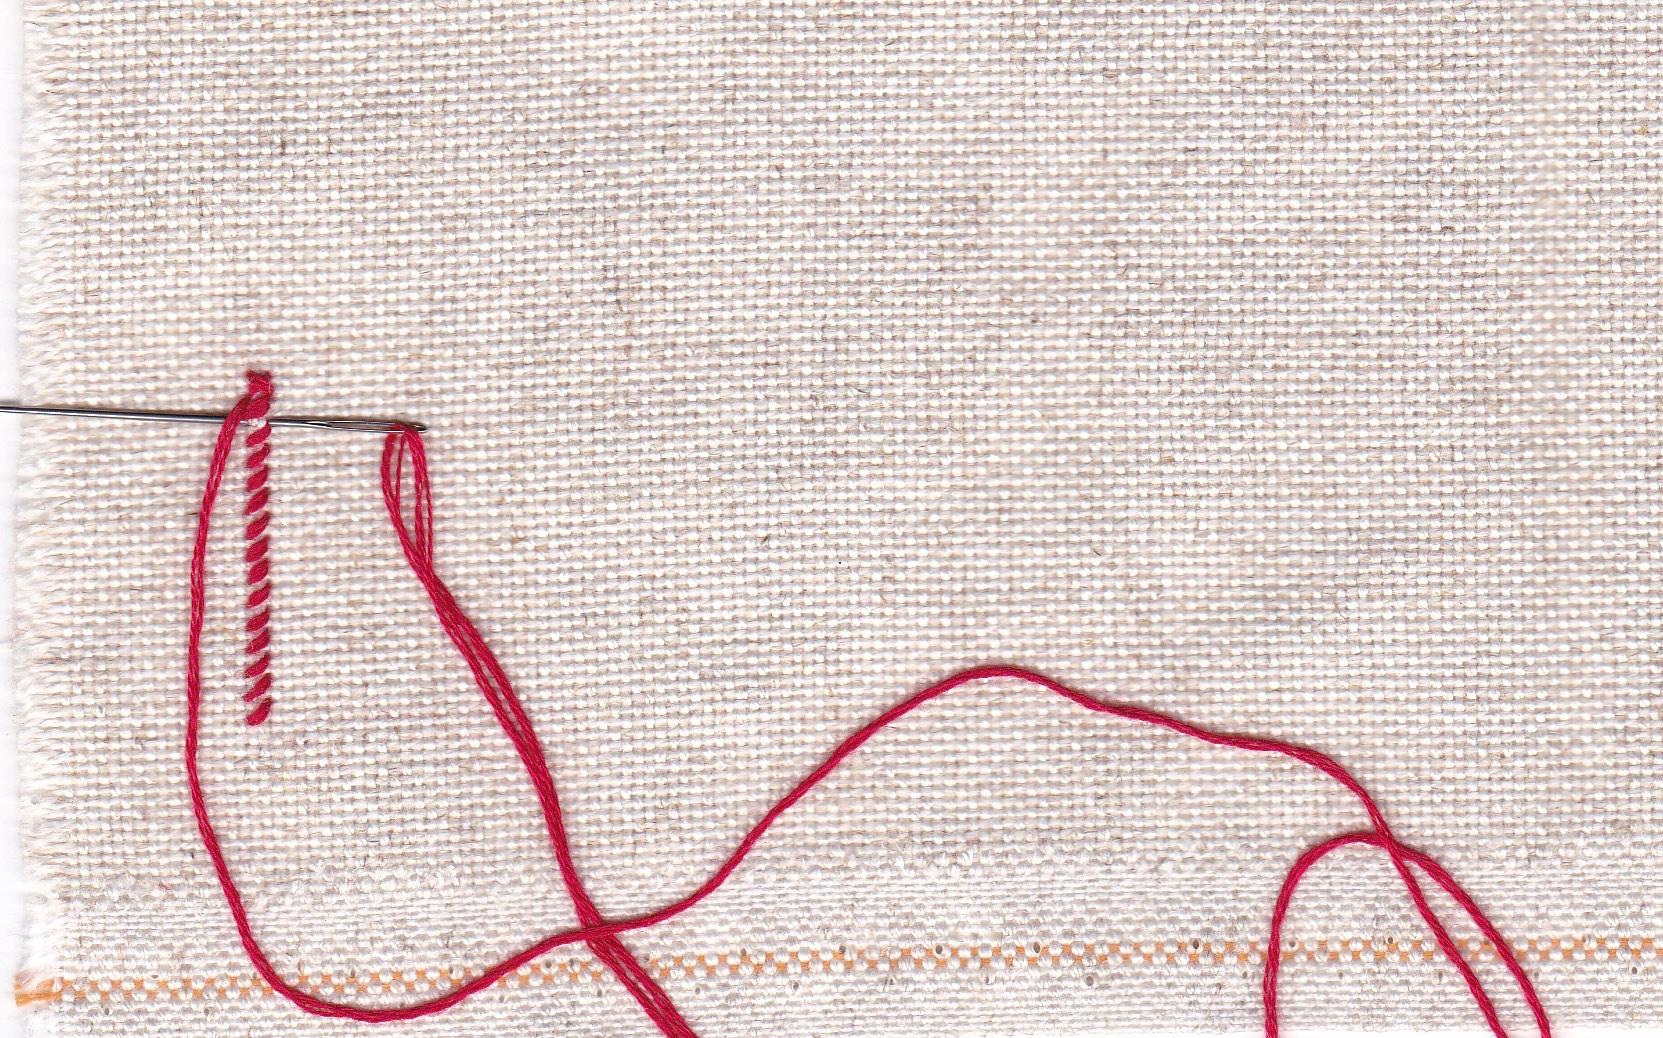
By repeating this over, I have a row of half crosses on the front side and a row of horizontal stitches on the flip side, as in the above photo. Here you can tuck your thread end under the existing first 3 or 4 stitches and trim it as in NO KNOTS! NO KNOTS! ~a how to post~.
Here is my vertical row of half crosses all oriented in the same direction. I’m in the process of turning around at the top to come back the other way. Notice my thread is now exiting the fabric in what is the top left of the existing cross.
When I pull through my needle, the next stitch will form the second half of the cross stitch and I’ll be away, coming back down the row. My needle is still making horizontal stitches on the flip side in a left-ward direction.

Here is a completed vertical row of crosses.
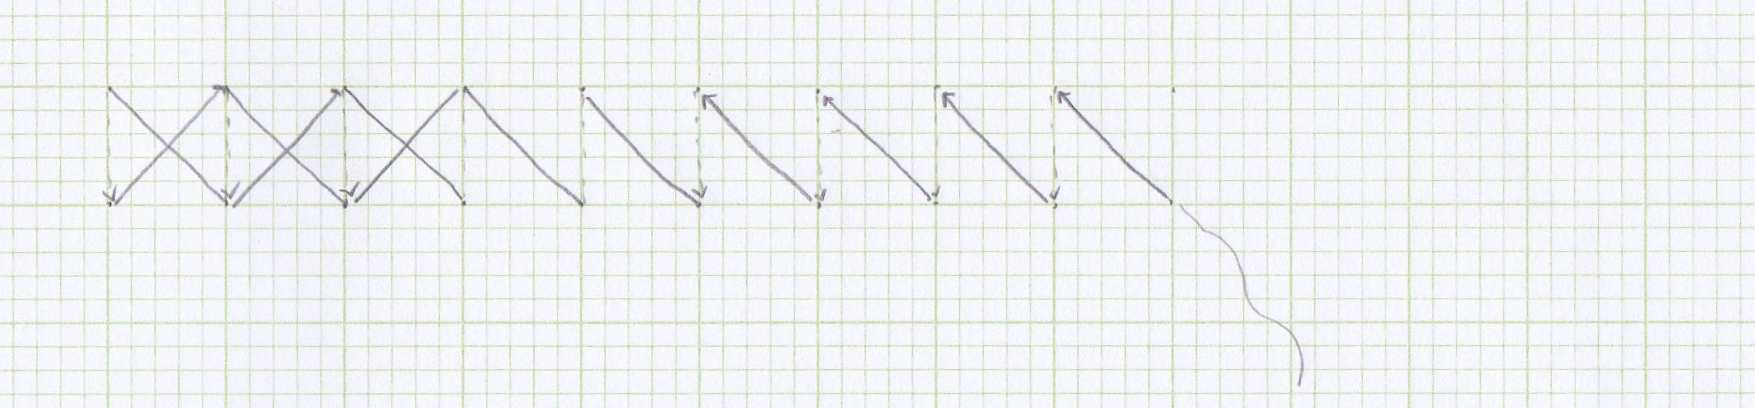
Stitching crosses in a horizontal direction for a righty goes from the left to the right.
Remember that the first half cross needs to be oriented in the same direction as when we went vertically, so begins in its bottom left and goes towards its top right. The needle makes vertical downward stitches on the flip side.

My first stitch with the needle pushing through the fabric in the downwards direction.
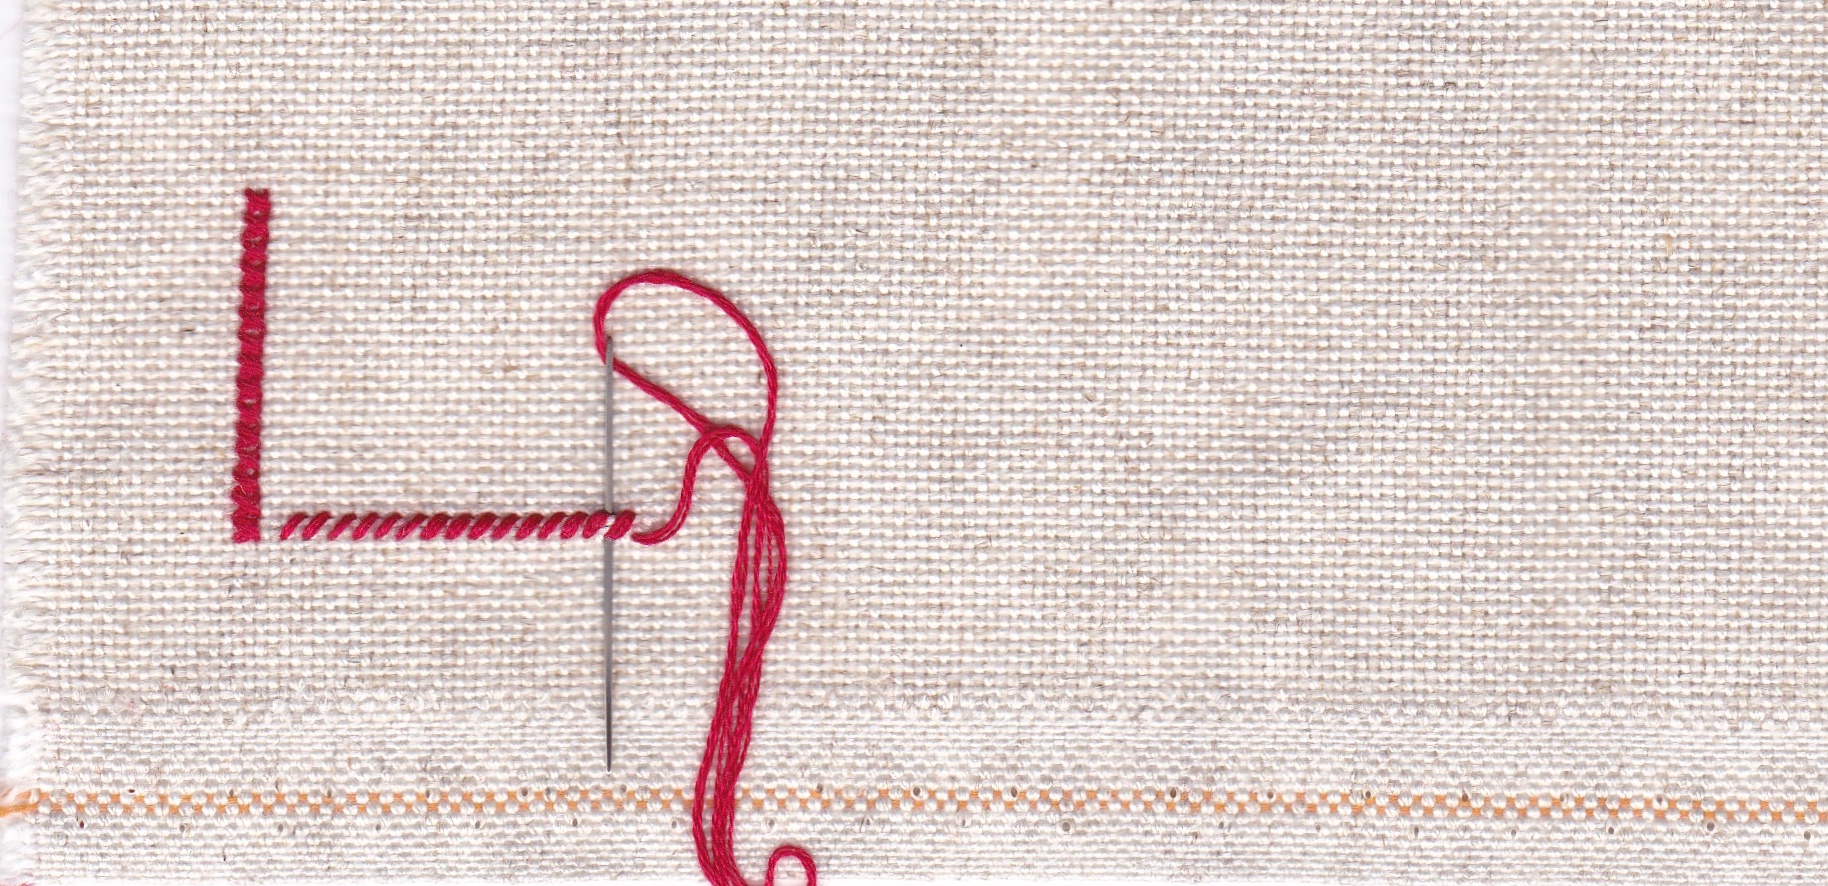
Here is a horizontal row of half crosses completed and I’m changing direction, much like at the top of the vertical row. You can see the needle still making stitches by pushing through the fabric in a downward direction.

We have arrived back at the end of the row with a completed row of horizontal cross stitches for a righty.
Now for the lefties out there.
A vertical row of stitches would look like the following:
The thread begins in the bottom right and makes its way to the top left of the half cross (solid line) with the needle being pushed through the fabric in a rightwards direction to form a horizontal stitch on the flip side (dotted line).
 The initial stitch is being made here.

Here we are at the top of a completed row of half stitches and have changed direction to come back down. I’m about to complete the very top cross and my needle is still going through the fabric in a rightwards direction.

Nearing the end, all the crosses are becoming completed.
To embroider a horizontal row of crosses, the row begins from the right and moves left, with the needle again making a downward movement through the fabric and forming vertical stitches on the flip side.
In needle and thread, it appears like this:

You can imagine that the flip side is a series of parallel vertical stitches.

Turn to come the other way and you’re on your way to completing a vertical row of stitches.
The next thing to do is to repeat and repeat again until this feels more flowing and natural and your pull, the tension you give to each stitch, becomes more uniform.
The next post will be on stitching horizontally or vertically for every second cross. Looking forward to the end of that post where there will be a little pattern that can and has been used to practice these two techniques and make a bookmark.
See you soon!
~oOo~
